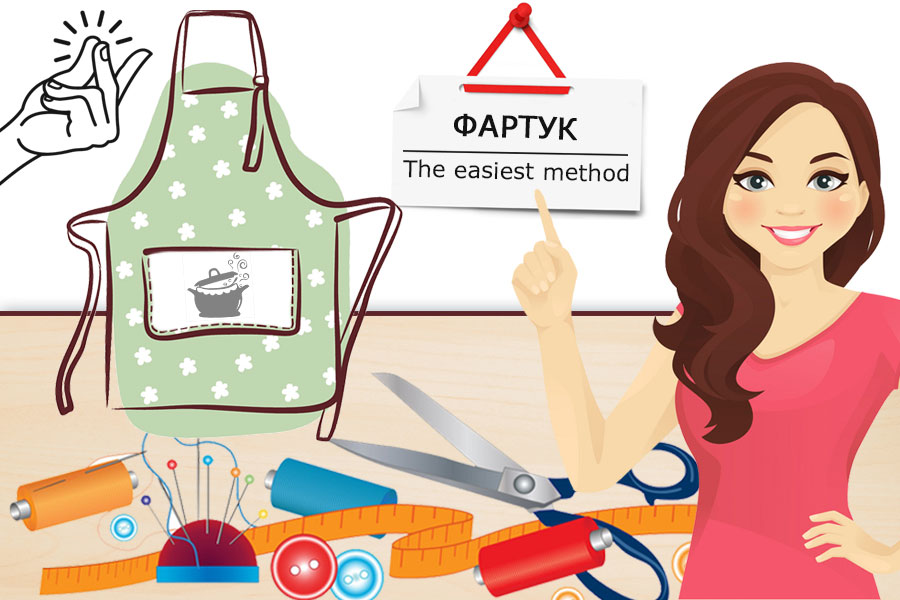
Do you want an apron for the kitchen, but you don't want to bother with its selection and shopping!
No question ! Sew it yourself, quickly and easily. It is enough to have a small piece of fabric (possibly from the lain-down cotton scraps), scissors, needles for chipping, a pin, a tape measure (ruler) and a sewing machine filled with thread.
Well, let's try it!?
We will sew from cotton fabric, the original width of which is 150 cm (although this is not essential).
The optimal size of our apron is determined based on the average parameters of a housewife with a height of 170 cm and a waist circumference of 88 cm.

So, we proceed directly to the cutting and sewing.
Step 1
In order to determine the necessary piece of fabric for sewing our kitchen apron, we will determine the number of initial components and their dimensions.

In total, 4 blanks of the following sizes are needed:
Under the strap (strap) – 65 cm by 7 cm
Under the base 1 – 27 cm by 30 cm
Under the belt – 140 cm by 7 cm
Under the base 2 – 75 cm by 62 cm

P.S.: If your height and waist circumference differ significantly from the accepted ones, then you can calculate your individual sizes of blanks using our calculator.
Step 2
We calculate the required length of the fabric and make its cut.
Since the original fabric roll has a width of 150 cm, we will calculate the length relative to this width using the calculator online cutting.

In order to cut these elements for sewing an apron, a common piece of fabric with a width of 150 cm and a length of 69 cm is needed.
After, from this cut, we cut out our blanks.
Step 3
We turn the base 1 and the base 2 with the wrong side to ourselves.
At the base 1, the upper edge is bent by 1 cm, and then by another 1 cm. We do the same on the sides of the part (basics 1). Do not touch the bottom edge. In general, each edge, except the bottom, will take 2 cm (1 cm + 1 cm).
At the base 2, we do everything in the same way, only we no longer touch the upper edge (we bend the sides and the bottom of the part).

Next, we iron all the bends at the 2 bases and roll them on a sewing machine.


Step 4
On the front side of the base 2 (30 cm from each edge), we make folds and pin them with needles. Each of the folds will take up approximately 5 cm on one side and the same amount on the other.


Step 5
We connect the middle of the 2 bases with the help of needles and lay a line connecting them on a sewing machine.


Step 6
We sew the belt.
The front side of the belt lies on the wrong side of the base 1. We connect it with needles and lay a line.


We turn the whole product with the wrong side to ourselves.

To do this, bend and iron all the edges of the belt by 1 cm.

We fold the belt in half and pin it with needles along the entire length.


We lay the line, removing the needles, retreating from the edge of 7 mm.


To connect the base 1 with the belt, we lay the line strictly along the one that goes along the edges of the part (on one side and on the other).

As a result, we have a sewn belt to our workpiece.
Step 7
We sew the strap (strap) of the apron.
We bend one of the ends of the material under the strap 1 cm from the edge and fold it in half along the entire length «face » to «face ». We chip off the needles and lay the line, retreating 7 mm from the edge. We do not sew the part on the sides (from the ends).


After the strap has been stitched along the entire length, we turn it out on the front side with a pin.
After the strap is turned out, we lay the lines along the edges (from the ends).
Step 8
Next, we sew the strap to the front side of the base 1.
We apply the stitches, as if continuing the seam that goes along the top of the base 1.


At this stage, the sewing of the kitchen apron is completed.

To give it a more interesting look, you can sew on any other decorative elements - bows, pockets, lace. Well, everything is already individual here and to a greater extent will depend on your creative approach.
 +375 29 34 37 358
 +375 33 34 37 368


 !
! !
!


